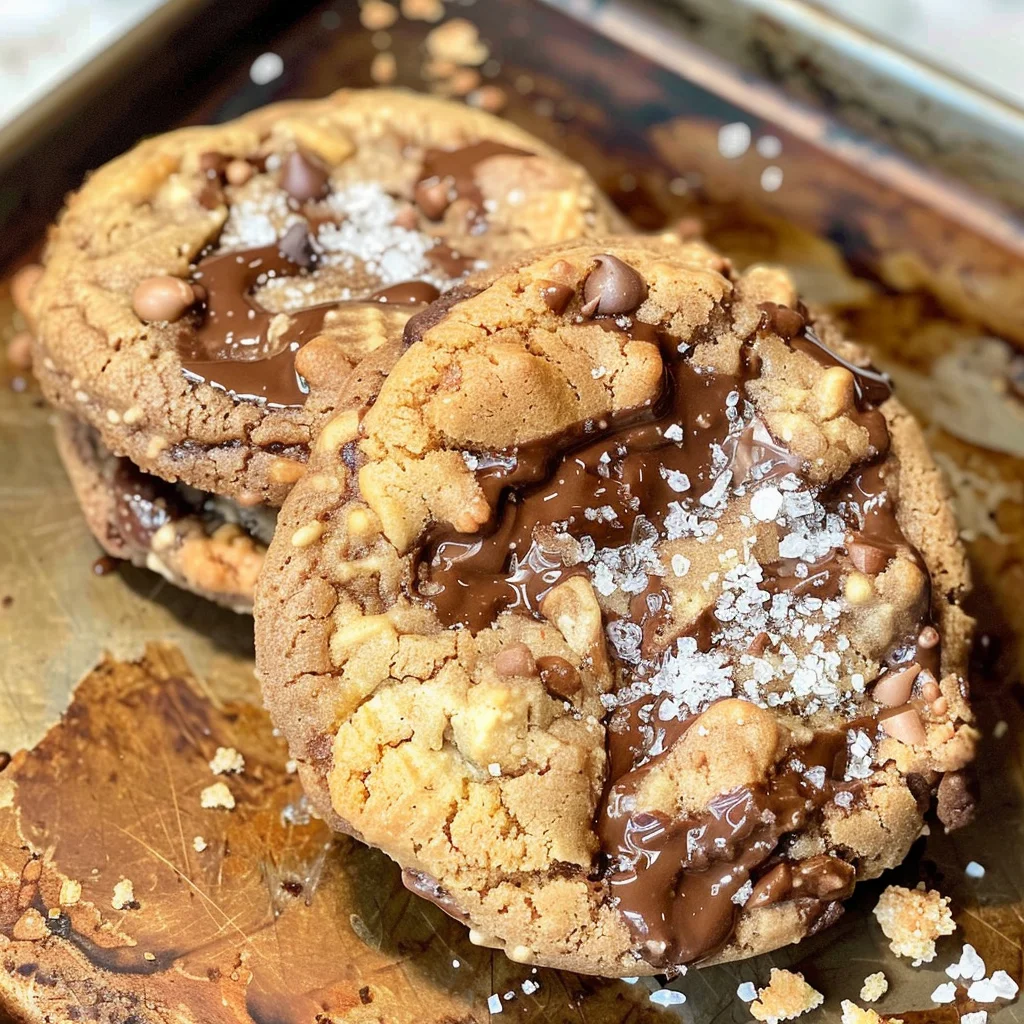
If you’re looking for a sweet treat that brings joy to any occasion, look no further than these delightful Ice Cream Cone Cookies! With their chewy texture and a rich swirl of chocolate chips and hot fudge, these cookies are like indulging in your favorite ice cream cone without the mess. They’re perfect for family gatherings, weekend baking sessions, or simply when you need a little pick-me-up after a long day.
What makes this recipe extra special is how it combines the nostalgia of ice cream cones with the comfort of freshly baked cookies. Whether you’re whipping them up for a sunny afternoon snack or serving them at a cozy dessert party, these cookies are sure to be a hit!
Why You’ll Love This Recipe
- Quick and Easy: With just a few simple steps, you’ll have delicious cookies ready in under 30 minutes!
- Family-Friendly: Everyone loves cookies, and these are packed with fun flavors that kids (and adults!) will adore.
- Make-Ahead Delight: Prepare the dough in advance and bake fresh cookies whenever the craving strikes.
- Unique Twist: The combination of broken ice cream cones and hot fudge creates an irresistible flavor profile that’s hard to resist.
- Perfectly Shareable: These cookies make a great treat to share with friends or bring to gatherings—just watch them disappear!
Ingredients You’ll Need
To make these scrumptious Ice Cream Cone Cookies, you’ll need some simple and wholesome ingredients you likely already have on hand. Let’s gather everything we need to whip up this delicious cookie treat!
For the Cookie Dough
- ½ cup butter
- ¾ cup brown sugar
- ¼ cup granulated sugar
- 1 large egg
- 2 tsp vanilla extract
- ½ tsp baking powder
- ½ tsp baking soda
- ½ tsp salt
- 1½ cups all-purpose flour
For the Mix-Ins
- ½ cup chocolate chips
- 2 sugar or waffle cones
- 3 tbsp hot fudge (chilled or frozen)
- Flaked salt for topping
Variations
This recipe is wonderfully flexible, allowing you to get creative with different flavors and textures. Here are some fun variations you might enjoy:
- Try Different Mix-Ins: Swap out chocolate chips for butterscotch or white chocolate chips for a new flavor twist.
- Add Nuts: For an extra crunch, mix in some chopped nuts like pecans or walnuts—just be sure they’re not too big!
- Make It Vegan: Substitute the butter with coconut oil or vegan butter and use flaxseed meal mixed with water as an egg replacement.
- Experiment with Flavors: Add a pinch of cinnamon or almond extract instead of vanilla to give your cookies an exciting new taste.
How to Make Ice Cream Cone Cookies
Step 1: Preheat Your Oven
Preheat your oven to 375°F (190°C) so it’s nice and hot when your cookie dough is ready. This step is essential because a properly heated oven ensures even baking and helps achieve those lovely golden edges.
Step 2: Cream Butter and Sugars
In your stand mixer, combine the butter and both sugars. Beat on medium-high speed until light and fluffy—about 3 to 4 minutes. This process incorporates air into the mixture, giving your cookies that delightful chewy texture we love.
Step 3: Add Egg and Vanilla
Next, add in the egg along with vanilla extract. Mix on low speed until everything is smooth. This adds richness to your cookie dough while enhancing the overall flavor profile.
Step 4: Combine Dry Ingredients
Slowly mix in the dry ingredients—baking powder, baking soda, salt, and flour—to avoid overmixing. When you still see some flour remnants around the bowl, stop mixing! Overworking the dough can lead to tough cookies instead of soft ones.
Step 5: Stir in Chocolate Chips and Cone Pieces
Now comes the fun part! Fold in chocolate chips and break up your ice cream cones into small pieces before stirring them into the dough. Then add dollops of hot fudge and gently swirl it through—don’t stir too much; we want those beautiful marbled patterns!
Step 6: Scoop Dough onto Baking Sheets
Using a scoop (I recommend about 4 tablespoons), portion out cookie balls onto lined baking sheets. Leave space between them as they’ll spread while baking. Top each ball with a sprinkle of flaked salt for that perfect sweet-salty balance.
Step 7: Bake Until Golden Brown
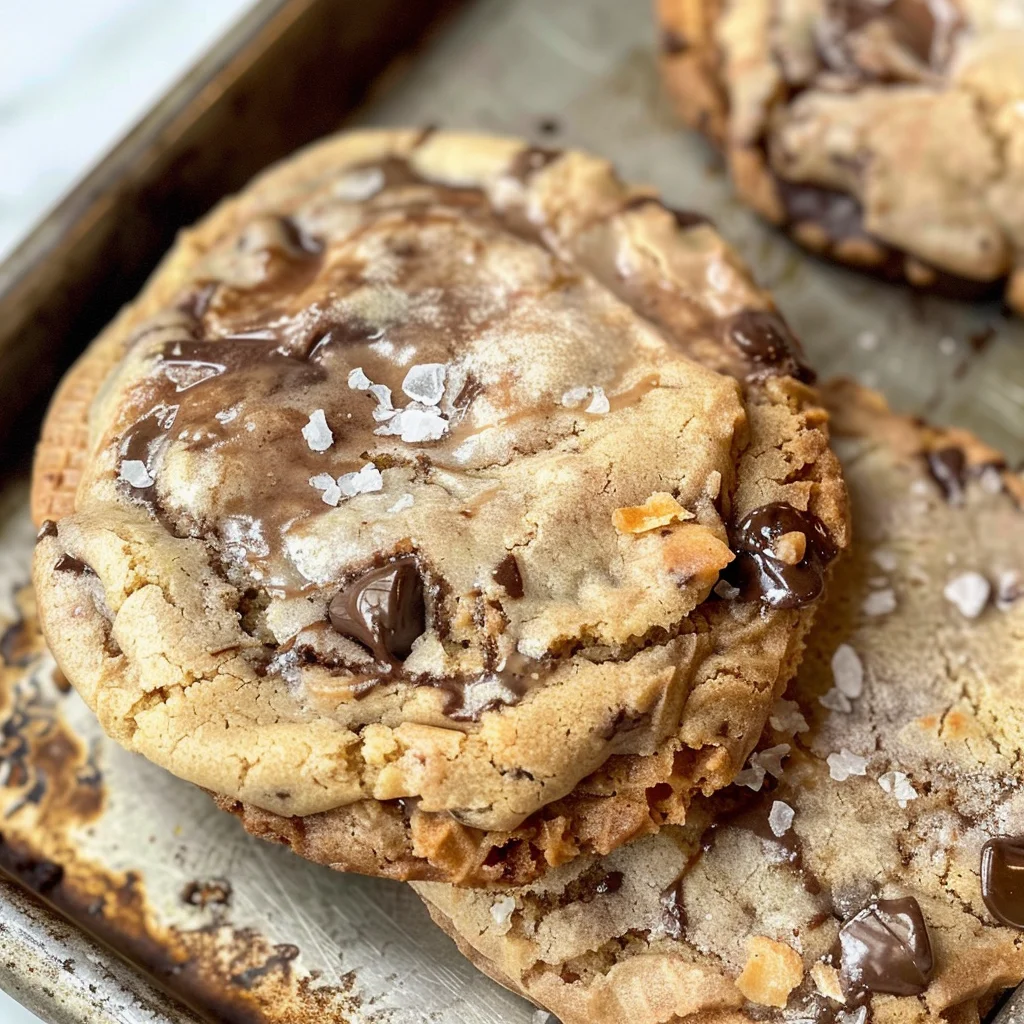
Bake your cookies for about 11-14 minutes until their edges start turning golden brown. As soon as they come out of the oven, run a spoon or spatula around each cookie to help shape them into perfect circles if needed. You can sprinkle more flaked salt on top if desired—they’ll be irresistible!
Enjoy every bite of these nostalgic Ice Cream Cone Cookies!
Pro Tips for Making Ice Cream Cone Cookies
Making ice cream cone cookies can be a delightful experience with a few tips to ensure they turn out perfectly every time.
- Use room temperature butter: Softened butter incorporates better with the sugars, creating a fluffier cookie texture that’s chewy and delicious.
- Don’t over-mix your dough: Stopping when you still see some flour helps maintain the cookie’s tenderness, preventing them from becoming tough.
- Chill the dough briefly: If you’re in a warmer environment, chilling the dough for about 15 minutes can help prevent spreading during baking, resulting in thicker cookies.
- Experiment with mix-ins: Feel free to add your favorite chocolate varieties or nuts for added flavor and texture; just keep in mind to balance the sweetness.
- Watch for doneness: Every oven is different, so keep an eye on your cookies as they bake. The edges should be golden brown while the centers remain slightly soft for that perfect chewy bite.
How to Serve Ice Cream Cone Cookies
These ice cream cone cookies are not only delicious but also visually appealing, making them a great centerpiece for any dessert table. Here are some fun ways to present them!
Garnishes
- Flaked sea salt: Just a sprinkle on top enhances sweetness and adds a touch of sophistication.
- Drizzle of chocolate sauce: A light drizzle over the cookies adds extra indulgence and makes them even more enticing.
Side Dishes
- Vanilla ice cream: A scoop of creamy vanilla ice cream pairs perfectly with the chewy cookies, creating a delightful contrast in textures.
- Fresh berries: Serve alongside mixed berries like strawberries or raspberries for a fruity freshness that balances the richness of the cookies.
- Milk or plant-based milk: A glass of cold milk complements these cookies beautifully, perfect for dipping!
- Coffee or tea: Offering a warm beverage enhances the full flavor experience and provides a comforting note after dinner.
Make Ahead and Storage
Ice Cream Cone Cookies are perfect for meal prep, allowing you to enjoy these delightful treats any time. Here’s how to store and handle them for later enjoyment.
Storing Leftovers
- Store cookies in an airtight container at room temperature for up to 5 days.
- For longer freshness, place parchment paper between layers of cookies to prevent sticking.
Freezing
- Freeze unbaked cookie dough by scooping it into balls and placing them on a baking sheet.
- Once frozen solid, transfer the cookie balls to a zip-top bag or airtight container; they can be stored for up to 3 months.
- To bake from frozen, add an extra 2-3 minutes to the baking time.
Reheating
- If you prefer warm cookies, reheat them in the oven at 350°F (175°C) for about 5 minutes until warmed through.
- Alternatively, microwave each cookie for about 10-15 seconds for a quick warm-up.
FAQs
Can I make Ice Cream Cone Cookies gluten-free?
Absolutely! You can substitute all-purpose flour with a gluten-free blend that measures cup-for-cup.
How should I store Ice Cream Cone Cookies?
Store your Ice Cream Cone Cookies in an airtight container at room temperature for optimal freshness.
Can I customize the flavors in Ice Cream Cone Cookies?
Yes, feel free to experiment with different mix-ins like nuts or other types of chocolate chips to make them your own!
What should I do if my Ice Cream Cone Cookies are too dry?
If your cookies turn out dry, it might be due to overbaking. Always keep an eye on them in the last few minutes of baking time.
Final Thoughts
Ice Cream Cone Cookies are not just delicious; they bring a bit of whimsy and joy with every bite. I hope you have as much fun making these as I do! Enjoy sharing them with friends and family; they’re sure to become a favorite treat. Happy baking!

Ice Cream Cone Cookies
- Prep Time: 10 minutes
- Cook Time: 12 minutes
- Total Time: 22 minutes
- Yield: Approximately 24 cookies 1x
- Category: Dessert
- Method: Baking
- Cuisine: American
Description
If you’re in search of a delightful treat that captures the essence of summer fun, look no further than these Ice Cream Cone Cookies! These chewy cookies are inspired by your favorite ice cream cones and packed with chocolate chips, broken cone pieces, and a swirl of hot fudge. Perfect for family gatherings, casual dessert nights, or whenever you need a sweet pick-me-up, these cookies are easy to prepare and sure to impress. With their nostalgic flavors and inviting texture, they provide a unique twist on classic cookie recipes that everyone will love.
Ingredients
- ½ cup butter
- ¾ cup brown sugar
- ¼ cup granulated sugar
- 1 large egg
- 2 tsp vanilla extract
- ½ tsp baking powder
- ½ tsp baking soda
- ½ tsp salt
- 1½ cups all-purpose flour
- ½ cup chocolate chips
- 2 sugar or waffle cones (crushed)
- 3 tbsp hot fudge (chilled or frozen)
- Flaked salt for topping
Instructions
- Preheat your oven to 375°F (190°C).
- In a stand mixer, cream the butter with brown and granulated sugars until light and fluffy.
- Add the egg and vanilla extract; mix until smooth.
- Gradually incorporate baking powder, baking soda, salt, and flour until just combined.
- Fold in chocolate chips and crushed cones; gently swirl in hot fudge.
- Scoop dough onto lined baking sheets, spacing them apart. Sprinkle with flaked salt.
- Bake for 11-14 minutes until edges are golden brown.
Nutrition
- Serving Size: 1 cookie (30g)
- Calories: 150
- Sugar: 9g
- Sodium: 95mg
- Fat: 7g
- Saturated Fat: 4g
- Unsaturated Fat: 3g
- Trans Fat: 0g
- Carbohydrates: 20g
- Fiber: <1g
- Protein: 2g
- Cholesterol: 20mg



Leave a Comment