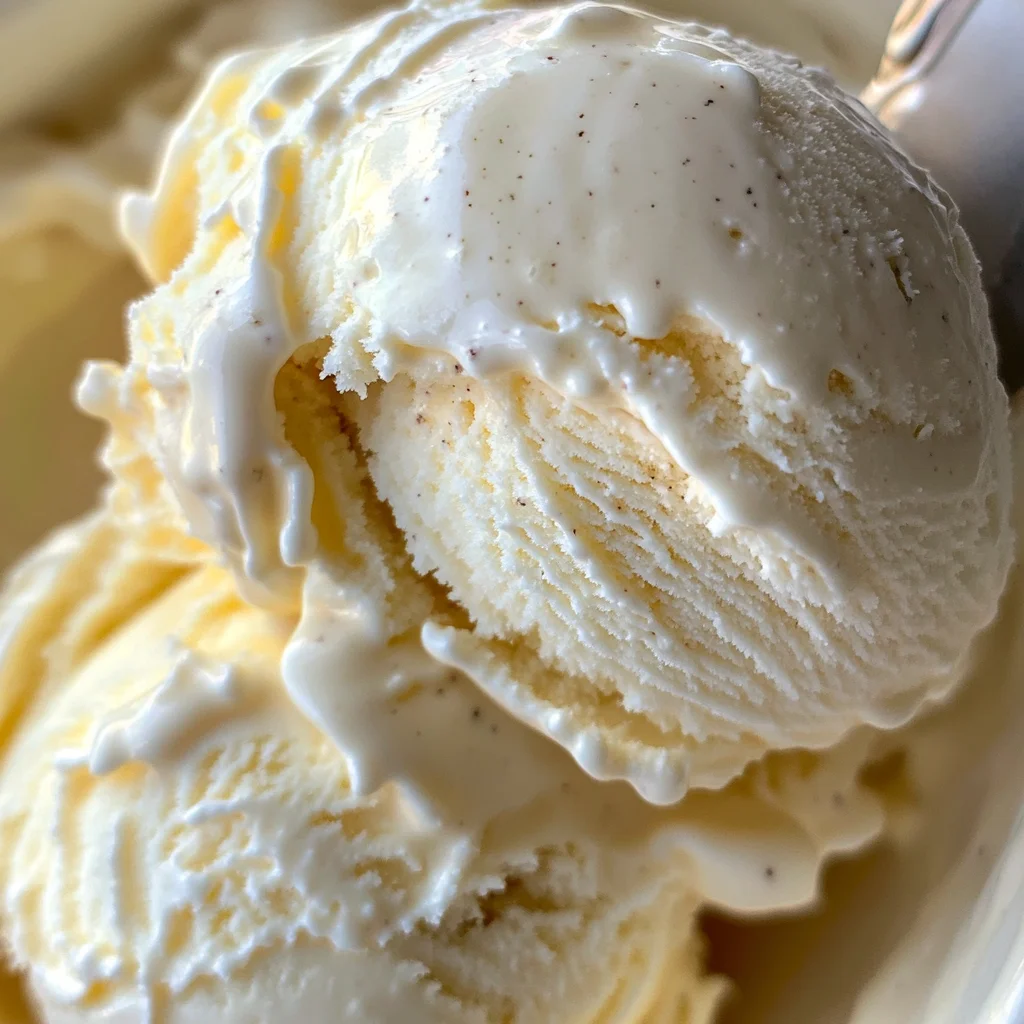
If you’re looking for a delightful treat that brings back fond memories of summer days, then you’re in for a real treat with this No-Churn Vanilla Ice Cream! It’s not just any ice cream; it’s a creamy, dreamy indulgence you can whip up at home without the fuss of an ice cream maker. Perfect for busy weeknights or family gatherings, this recipe transforms simple ingredients into a nostalgic dessert that everyone will love.
Homemade ice cream is always a hit, especially when you can customize it to fit your taste. Whether you’re enjoying it on its own, piled high with your favorite toppings, or as the perfect complement to pies and cakes, this no-churn vanilla ice cream is sure to become a staple in your dessert repertoire.
Why You’ll Love This Recipe
- Quick and Easy: With just four simple ingredients and minimal prep time, you’ll have creamy goodness ready in no time.
- Family-Friendly Delight: Kids and adults alike will adore this sweet treat—it’s truly a crowd-pleaser!
- Customizable Flavors: Feel free to mix in chocolate chips or fresh fruit for a personal twist; the options are endless!
- Make-Ahead Convenience: Prepare this ice cream ahead of time and simply freeze—it’s ready whenever you are!
- No Special Equipment Needed: No need for an ice cream machine; just your trusty mixing bowls and freezer!
Ingredients You’ll Need
You’ll love how simple and wholesome these ingredients are! They come together to create a rich and velvety ice cream that promises pure delight in every bite.
For the Ice Cream Base
- 2 cups heavy whipping cream
- 1 cup sweetened condensed milk
- 2 tsp pure vanilla extract
- 1 pinch salt
Variations
One of the best things about this No-Churn Vanilla Ice Cream is how flexible it is! You can easily adapt it to suit your cravings or dietary needs.
- Add Some Crunch: Fold in crushed cookies or nuts right before freezing for extra texture.
- Fruit Fusion: Mix in fresh berries or chopped peaches for a refreshing twist—perfect for warm days!
- Chocolate Lover’s Dream: Swirl in chocolate syrup or add chocolate chips for a decadent variation.
- Spicy-Sweet Surprise: Drizzle with hot honey before serving for an exciting flavor contrast that’s sure to impress!
How to Make No-Churn Vanilla Ice Cream
Step 1: Whip the Cream
Start by pouring your heavy whipping cream into a large mixing bowl. Using an electric mixer, whip the cream until stiff peaks form—this usually takes about 3-5 minutes. Achieving those stiff peaks is crucial because they give your ice cream that light, airy texture we all crave!
Step 2: Combine the Base Ingredients
In another bowl, combine the sweetened condensed milk, pure vanilla extract, and a pinch of salt. Stir everything together until well blended. This mixture serves as the sweet foundation for your ice cream, enhancing its flavor beautifully.
Step 3: Fold It Together
Gently fold the whipped cream into the condensed milk mixture using a spatula. Be careful not to deflate the whipped cream; you want to maintain that fluffiness! This step ensures that every scoop will be light yet creamy.
Step 4: Freeze It Up
Transfer your combined mixture into a freezer-safe container. Smooth out the top with your spatula and cover it tightly. Now it’s time to let it freeze! Aim for at least 6 hours or overnight if you can resist temptation.
Step 5: Serve and Enjoy!
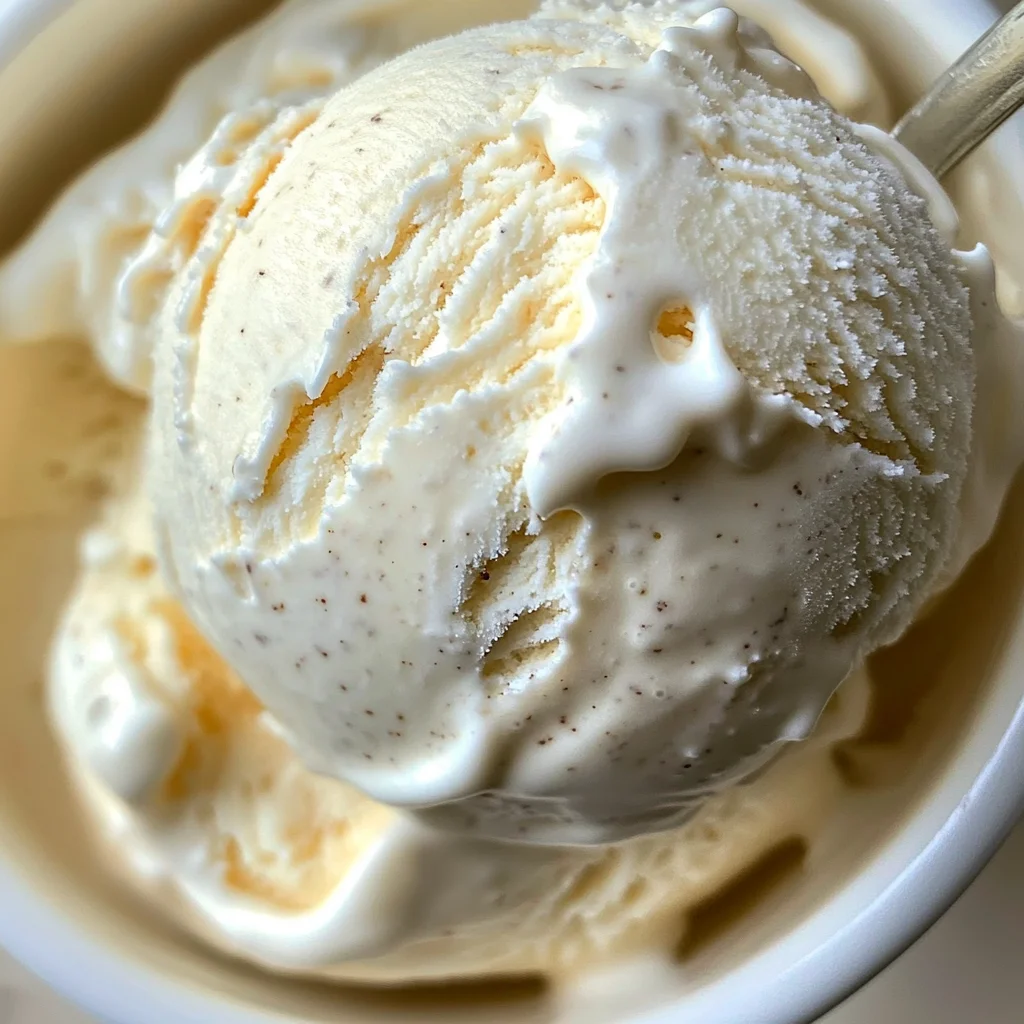
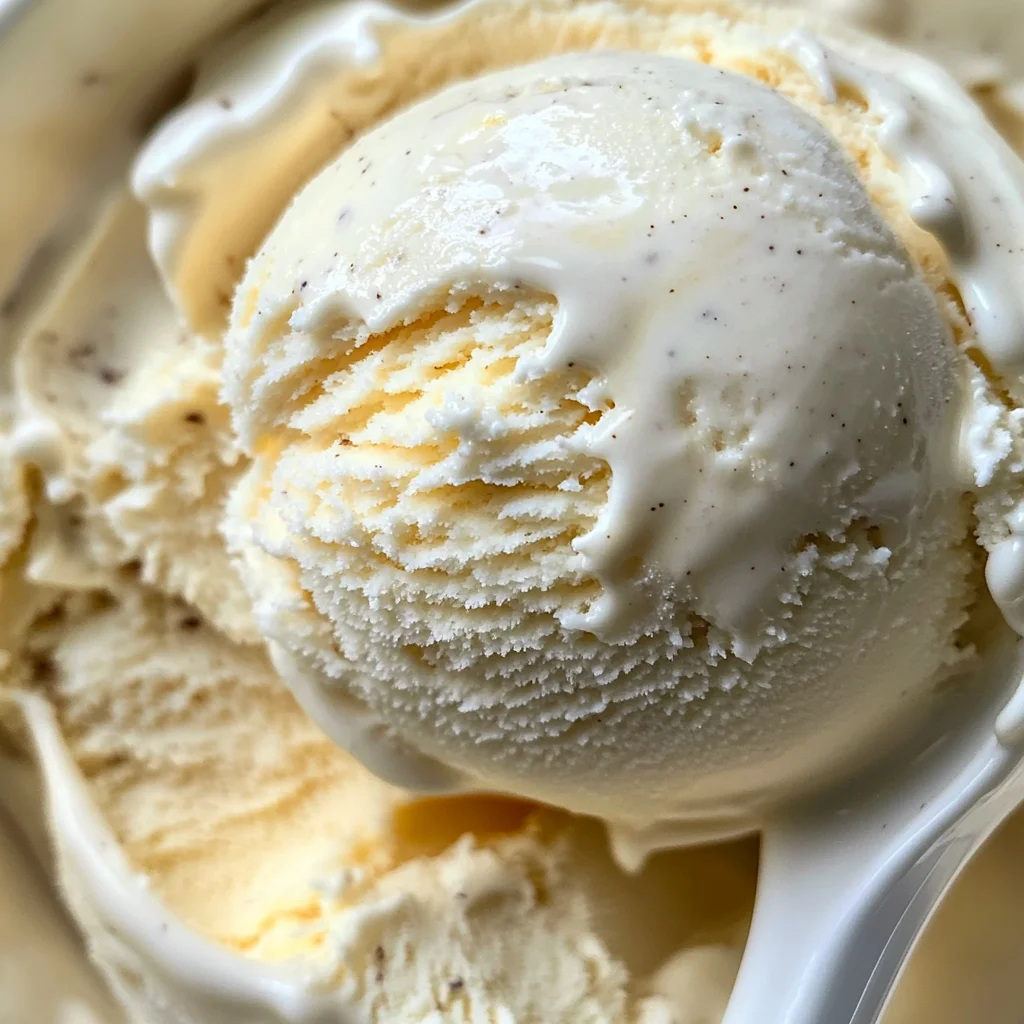
Once frozen solid, scoop out generous servings of your homemade no-churn vanilla ice cream into bowls or cones. Feel free to add toppings like sprinkles, fresh fruit, or even chocolate sauce—the choice is yours! Enjoy each delicious bite as you savor this delightful treat!
Pro Tips for Making No-Churn Vanilla Ice Cream
Making no-churn vanilla ice cream is a breeze, but a few tips can help you achieve the perfect texture and flavor.
- Use cold heavy cream: Starting with chilled heavy cream helps it whip up to stiff peaks more easily, resulting in a lighter, fluffier ice cream.
- Fold gently: When combining the whipped cream and condensed milk mixture, use a gentle folding motion to maintain the airiness of the whipped cream, ensuring a creamy texture.
- Freeze overnight: For the best results, allow the ice cream to freeze overnight. This gives it time to fully set and enhances the flavors.
- Experiment with flavors: Don’t hesitate to add mix-ins like nuts or spices. This can create exciting flavor combinations that make your ice cream stand out.
- Let it soften before serving: If your ice cream is too hard to scoop, let it sit at room temperature for a few minutes. This makes serving much easier and more enjoyable.
How to Serve No-Churn Vanilla Ice Cream
Presenting your no-churn vanilla ice cream beautifully can enhance the experience for everyone. Here are some creative ideas!
Garnishes
- Fresh mint leaves: A sprig of mint adds a pop of color and a refreshing aroma that complements the sweetness of the ice cream.
- Chocolate syrup: Drizzling chocolate syrup on top adds an indulgent touch and enhances the dessert’s visual appeal.
- Sprinkles: A sprinkle of colorful toppings brings fun and excitement, especially for kids!
Side Dishes
- Fruit salad: A light fruit salad provides a refreshing contrast to the rich ice cream and balances sweetness with tartness.
- Brownies: Warm brownies create a delightful combination with cold ice cream, perfect for those who love rich desserts.
- Waffle cones: Serving your ice cream in crunchy waffle cones adds texture and makes it easier to enjoy on-the-go!
- Coffee: A cup of coffee pairs wonderfully, as its bitterness complements the sweetness of the ice cream perfectly.
Make Ahead and Storage
This no-churn vanilla ice cream recipe is perfect for meal prep, allowing you to enjoy a delightful dessert whenever the craving strikes.
Storing Leftovers
- Store any leftover ice cream in an airtight container.
- Make sure to smooth the top before sealing to minimize air exposure.
- It can last in the freezer for up to 2 weeks, although it’s best enjoyed fresh!
Freezing
- Once mixed, transfer the ice cream mixture to a freezer-safe container.
- Cover tightly with a lid or plastic wrap to prevent ice crystals from forming.
- Allow it to freeze for at least 6 hours or overnight for optimal texture.
Reheating
- This ice cream doesn’t require reheating; simply let it sit at room temperature for a few minutes before scooping.
- If frozen solid, you may need to use a warm scoop or run it under warm water briefly for easier serving.
FAQs
Can I make No-Churn Vanilla Ice Cream without sweetened condensed milk?
Yes! You can substitute sweetened condensed milk with coconut cream mixed with a bit of sugar for a dairy-free alternative.
How long does No-Churn Vanilla Ice Cream last in the freezer?
When stored properly in an airtight container, No-Churn Vanilla Ice Cream can last up to 2 weeks in the freezer.
Can I add mix-ins to No-Churn Vanilla Ice Cream?
Absolutely! Feel free to mix in chocolate chips, crushed cookies, or fresh fruit before freezing for added flavor and fun textures.
Is No-Churn Vanilla Ice Cream suitable for those with lactose intolerance?
While this recipe uses heavy whipping cream and sweetened condensed milk, you can create a lactose-free version by using lactose-free alternatives.
Final Thoughts
I hope you enjoy making this no-churn vanilla ice cream as much as I do! It’s such a simple yet satisfying treat that brings back warm memories of summer days. Don’t hesitate to get creative with your favorite mix-ins and flavors; this recipe is all about enjoying every scoop. Happy freezing and indulge in your homemade delight!
No-Churn Vanilla Ice Cream
- Prep Time: 15 minutes
- Cook Time: N/A
- Total Time: 0 hours
- Yield: Approximately 4 servings 1x
- Category: Dessert
- Method: No Churn
- Cuisine: American
Description
Indulge in the creamy delight of No-Churn Vanilla Ice Cream, a summer favorite that’s effortlessly made at home without an ice cream maker. This quick and easy recipe requires just four simple ingredients to create a velvety dessert that’s perfect for family gatherings or weeknight treats. Whether enjoyed on its own or topped with your favorite sprinkles and fresh fruits, this no-churn ice cream offers endless customization options. Whip up a batch in no time and savor the nostalgic flavors of your childhood—it’s sure to become a staple in your dessert repertoire.
Ingredients
- 2 cups heavy whipping cream
- 1 cup sweetened condensed milk
- 2 tsp pure vanilla extract
- 1 pinch salt
Instructions
- In a large mixing bowl, whip the heavy cream using an electric mixer until stiff peaks form (about 3-5 minutes).
- In another bowl, combine sweetened condensed milk, vanilla extract, and salt. Stir until blended.
- Gently fold the whipped cream into the condensed milk mixture using a spatula, ensuring you maintain its light texture.
- Transfer to a freezer-safe container, smooth out the top, and cover tightly.
- Freeze for at least 6 hours or overnight before serving.
Nutrition
- Serving Size: ½ cup (120g)
- Calories: 300
- Sugar: 25g
- Sodium: 50mg
- Fat: 24g
- Saturated Fat: 15g
- Unsaturated Fat: 8g
- Trans Fat: 0g
- Carbohydrates: 27g
- Fiber: 0g
- Protein: 3g
- Cholesterol: 90mg


Leave a Comment