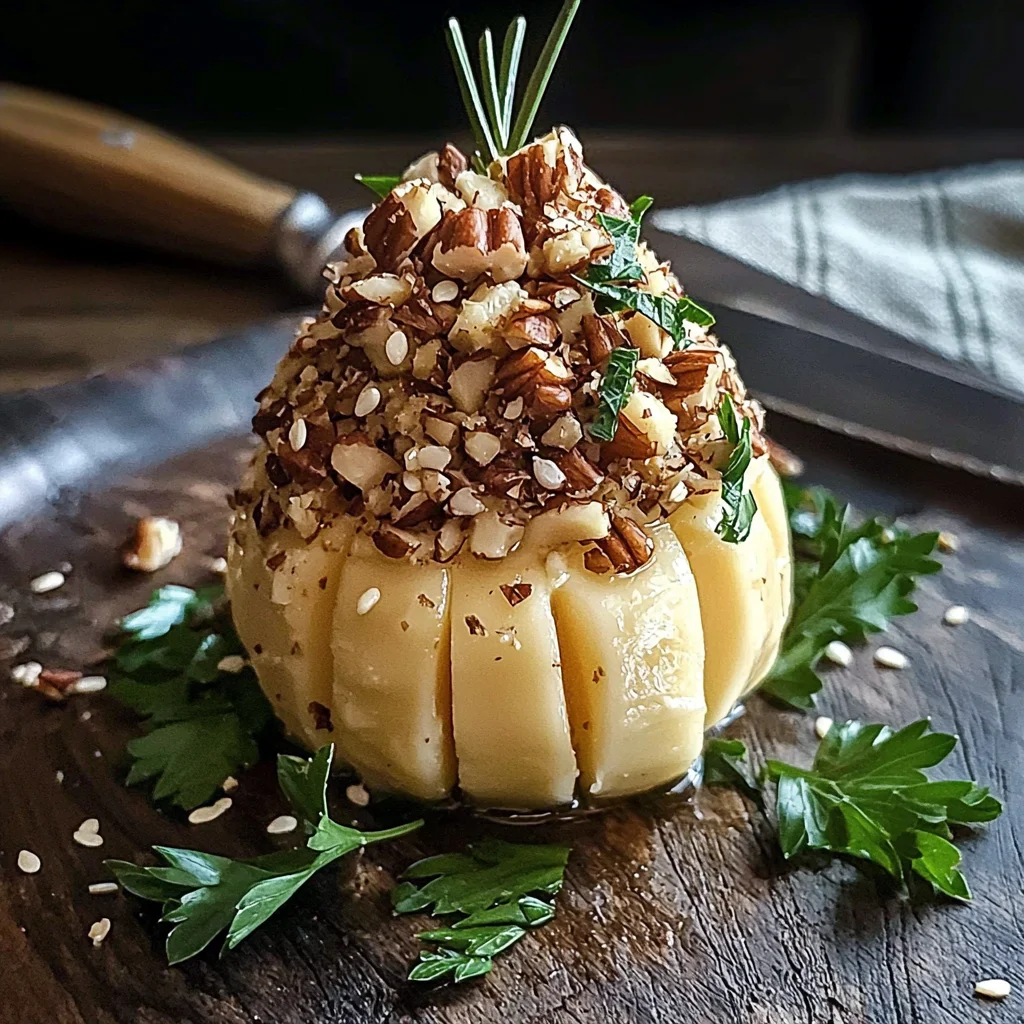
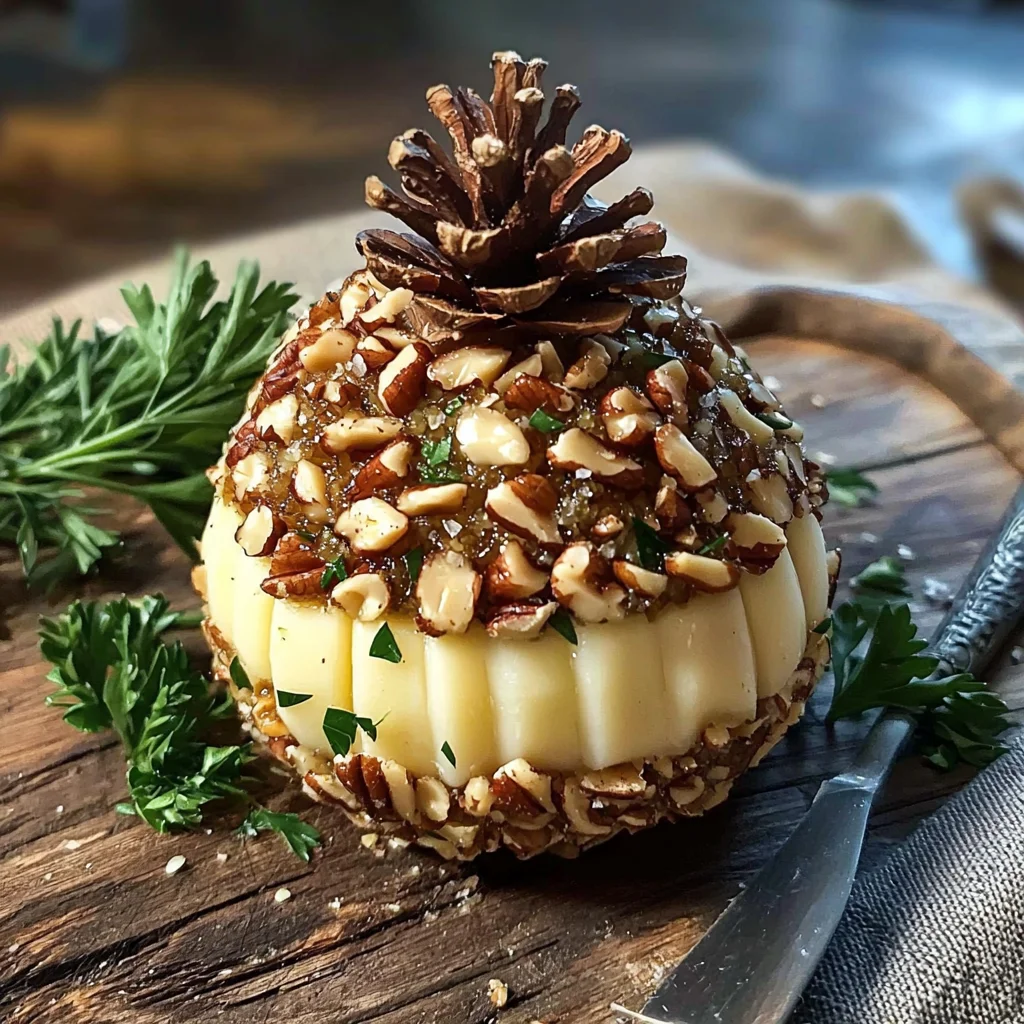
If you’re looking for a show-stopping appetizer that will have your guests raving, the Pine Cone Cheese Ball is just what you need! This delightful creation combines smooth cream cheese with sharp cheddar and crunchy pecans, making it a perfect treat for any gathering. Whether it’s a holiday party or a cozy family game night, this cheese ball is sure to impress. Plus, its charming shape adds a touch of whimsy to your table!
This recipe has become a beloved favorite in our home, not only because it’s simple to make but also because it’s incredibly versatile. You can whip it up ahead of time, making it an ideal choice for busy weeks or last-minute get-togethers.
Why You’ll Love This Recipe
- Crowd-pleaser: The rich flavors and fun presentation make it a hit at any gathering.
- Easy preparation: With just a few steps, you can create an impressive dish without spending hours in the kitchen.
- Make-ahead friendly: Prepare it in advance and let it chill until you’re ready to serve—perfect for stress-free hosting!
- Customizable: Feel free to adjust the ingredients to suit your taste or dietary preferences.
- Fun for all ages: Kids and adults alike will love digging into this cheesy delight with their favorite dippers!
Ingredients You’ll Need
Gathering the ingredients for this Pine Cone Cheese Ball is a breeze! You’ll need some simple, wholesome items that come together beautifully. Here’s what you’ll need:
For the Cheese Ball
- 2 (8 ounce) packages cream cheese, softened
- 2 cups shredded sharp Cheddar cheese
- 1 cup chopped pecans
- 1 tablespoon Worcestershire sauce
- 1 tablespoon finely chopped green onions
- 1/2 teaspoon garlic powder
- 1/2 teaspoon onion powder
- 1/4 teaspoon ground black pepper
- 1/4 teaspoon hot sauce (optional)
For Decoration
- 1/2 cup chopped fresh parsley
- 1 tablespoon sesame seeds
- 1/2 cup whole pecan halves (for decoration)
Variations
One of the best things about this Pine Cone Cheese Ball is its flexibility! You can easily adapt it based on what you have on hand or your specific tastes. Here are some delightful variations to consider:
- Add some spice: Mix in diced jalapeños or switch out the cheddar for pepper jack cheese for an extra kick!
- Go vegan: Substitute the cream cheese with a plant-based alternative and use nutritional yeast instead of Worcestershire sauce for flavor.
- Herb-infused twist: Incorporate fresh herbs like dill or chives into the mixture for a fragrant touch.
- Nut-free option: Swap out pecans for sunflower seeds or omit nuts entirely if allergies are a concern.
How to Make Pine Cone Cheese Ball
Step 1: Combine the Cheeses
In a large mixing bowl, combine the softened cream cheese and shredded cheddar cheese. Mix well until smooth and creamy. This step ensures that all flavors meld together perfectly, creating that deliciously rich base.
Step 2: Add Flavorings
Next, add in the Worcestershire sauce, green onions, garlic powder, onion powder, black pepper, and optional hot sauce. Stir until everything is well combined. These ingredients add depth and zest to your cheese ball!
Step 3: Shape and Chill
Shape the mixture into a ball and cover it tightly with plastic wrap. Chill in the refrigerator for at least 2 hours to firm up. Chilling is essential as it helps the cheese ball hold its shape when served.
Step 4: Create the Pine Cone Shape
Once chilled, remove the cheese ball from wrap and gently taper one end to resemble a pine cone shape. This unique form will make your appetizer stand out on any platter!
Step 5: Coat with Pecans
Roll the shaped cheese ball in chopped pecans until fully coated. Use your hands to gently press them in; this not only looks beautiful but also adds that delightful crunch.
Step 6: Add Decoration
Press whole pecan halves into the wide end of the cheese ball to mimic “scales” of a pine cone. Sprinkle fresh parsley around to imitate pine needles. Finally, sprinkle sesame seeds over everything for added texture.
Step 7: Serve
Serve your stunning Pine Cone Cheese Ball with an array of crackers, pretzels, or fresh veggies. Watching everyone dig in will be one of your favorite moments!
Pro Tips for Making Pine Cone Cheese Ball
Creating the perfect Pine Cone Cheese Ball is easier with these helpful tips!
Use room temperature ingredients: Allow your cream cheese to soften at room temperature for easier mixing, which ensures a smoother texture and better flavor integration.
Chill thoroughly: Don’t skip the chilling step! This helps the cheese ball firm up, making it easier to shape and ensuring it holds its form when served.
Press pecans firmly: When rolling the cheese ball in chopped pecans, press them in gently but firmly to ensure they adhere well, creating a beautiful and cohesive outer layer.
Experiment with herbs: Feel free to add fresh herbs like dill or chives into the cheese mixture for an extra burst of flavor that complements the cheese wonderfully.
Make ahead: Prepare your Pine Cone Cheese Ball a day in advance. This allows the flavors to meld together beautifully, making it even more delicious when served.
How to Serve Pine Cone Cheese Ball
Presenting your Pine Cone Cheese Ball can enhance its festive appeal and make it a real showstopper at gatherings!
Garnishes
- Fresh parsley: A sprinkle of finely chopped parsley not only adds color but also mimics pine needles, enhancing the pine cone theme.
- Sliced olives: Add a few sliced olives around the base for a pop of color and an additional savory flavor contrast.
Side Dishes
- Crackers: Offer a variety of crackers—like water crackers or whole grain—for different textures that pair perfectly with the creamy cheese ball.
- Fresh veggies: Include an assortment of fresh vegetables such as carrot sticks, cucumber slices, and bell pepper strips for a crunchy accompaniment that balances richness.
- Pretzels: Crunchy pretzels bring a salty bite that complements the creamy cheese ball beautifully while adding fun variety to your serving platter.
Make Ahead and Storage
This Pine Cone Cheese Ball is perfect for meal prep and can save you time when hosting gatherings. Preparing it in advance allows the flavors to meld beautifully, making it even more delicious when served.
Storing Leftovers
- Store any leftover cheese ball in an airtight container in the refrigerator.
- It will stay fresh for up to 5 days.
- If you have used fresh herbs for decoration, consider removing them before storing to maintain freshness.
Freezing
- You can freeze the uncoated cheese ball by wrapping it tightly in plastic wrap and then placing it in a freezer-safe bag.
- It can be frozen for up to 3 months.
- When ready to serve, thaw it in the refrigerator overnight and then coat with nuts and herbs before serving.
Reheating
- There’s no need to reheat this cheese ball; it’s best enjoyed chilled or at room temperature.
- Simply remove it from the refrigerator about 30 minutes before serving for optimal flavor and texture.
FAQs
Can I make the Pine Cone Cheese Ball ahead of time?
Absolutely! Making the Pine Cone Cheese Ball a day ahead allows for better flavor development. Just store it properly in the fridge until you’re ready to serve.
How do I shape the Pine Cone Cheese Ball?
To shape your Pine Cone Cheese Ball, form the mixture into a ball and taper one end to create that pine cone look. Then coat with pecans and decorate as desired.
What can I serve with Pine Cone Cheese Ball?
This delightful appetizer pairs well with crackers, pretzels, or fresh veggies. Feel free to get creative with your serving options!
Is there a vegetarian alternative for Worcestershire sauce?
Yes! You can use soy sauce or coconut aminos as a vegetarian substitute if you prefer not to use Worcestershire sauce.
Final Thoughts
I hope you enjoy making this festive Pine Cone Cheese Ball as much as I do! It’s such a fun and creative appetizer that’s sure to impress your guests. Take your time shaping and decorating it, and don’t hesitate to share your own twists on this recipe. Happy cooking!
Pine Cone Cheese Ball
- Prep Time: 15 minutes
- Cook Time: N/A
- Total Time: 0 hours
- Yield: Approximately 12 servings 1x
- Category: Appetizer
- Method: Chilling
- Cuisine: American
Description
Create an eye-catching Pine Cone Cheese Ball that delights guests at any gathering. Follow our easy recipe and impress everyone today!
Ingredients
- 2 (8-ounce) packages cream cheese, softened
- 2 cups shredded sharp cheddar cheese
- 1 cup chopped pecans
- 1 tablespoon Worcestershire sauce
- 1 tablespoon finely chopped green onions
- 1/2 teaspoon garlic powder
- 1/2 teaspoon onion powder
- 1/4 teaspoon ground black pepper
- 1/4 teaspoon hot sauce (optional)
- For decoration: fresh parsley, sesame seeds, whole pecan halves
Instructions
- In a large mixing bowl, combine the softened cream cheese and cheddar cheese until smooth.
- Mix in Worcestershire sauce, green onions, garlic powder, onion powder, black pepper, and optional hot sauce.
- Shape the mixture into a ball and chill in the refrigerator for at least 2 hours.
- Once chilled, taper one end of the ball to create a pine cone shape and coat with chopped pecans.
- Decorate with whole pecan halves and sprinkle with parsley and sesame seeds.
- Serve with crackers or fresh veggies.
Nutrition
- Serving Size: 1 serving
- Calories: 100
- Sugar: 1g
- Sodium: 120mg
- Fat: 8g
- Saturated Fat: 3g
- Unsaturated Fat: 5g
- Trans Fat: 0g
- Carbohydrates: 3g
- Fiber: 0g
- Protein: 4g
- Cholesterol: 15mg
Leave a Comment